Some entry-level robots come with an easy-to-use programming interface that allows a user to start making motion sequences right out of the box. It would be remiss of me to say that was my experience with the Mecharm 270 Pi. The robot has some nice features, but it doesn’t have an intuitive slider or drag UI that a beginner could use to quickly program a motion sequence.
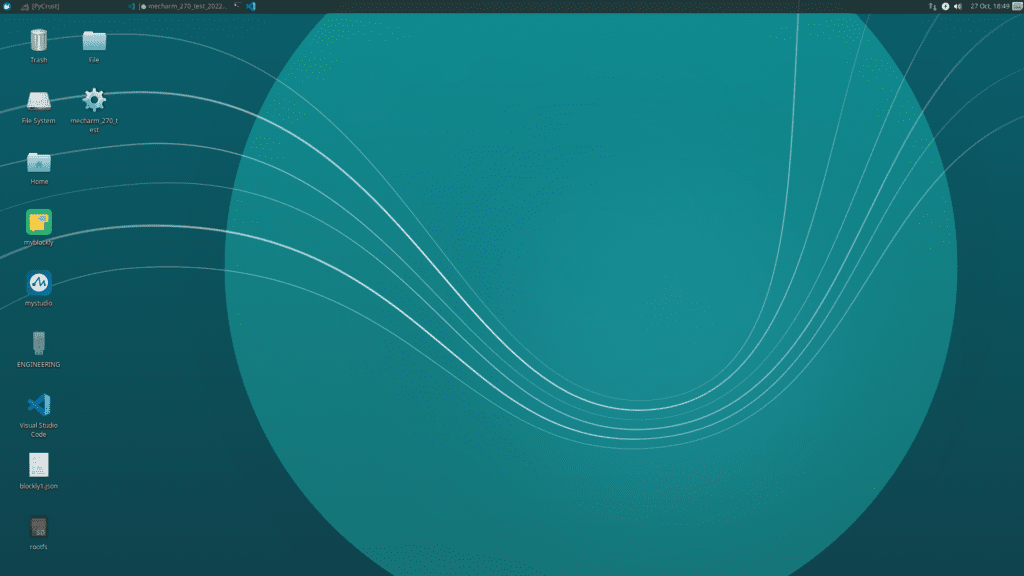
My Mecharm 270 Pi came with an Ubuntu OS version 18.04 (desktop pictured above). I was unable to get any form of ROS interface to work with that system, and finally switched to Ubuntu 20.04. This requires a re-burn of the the Pi microSD card.
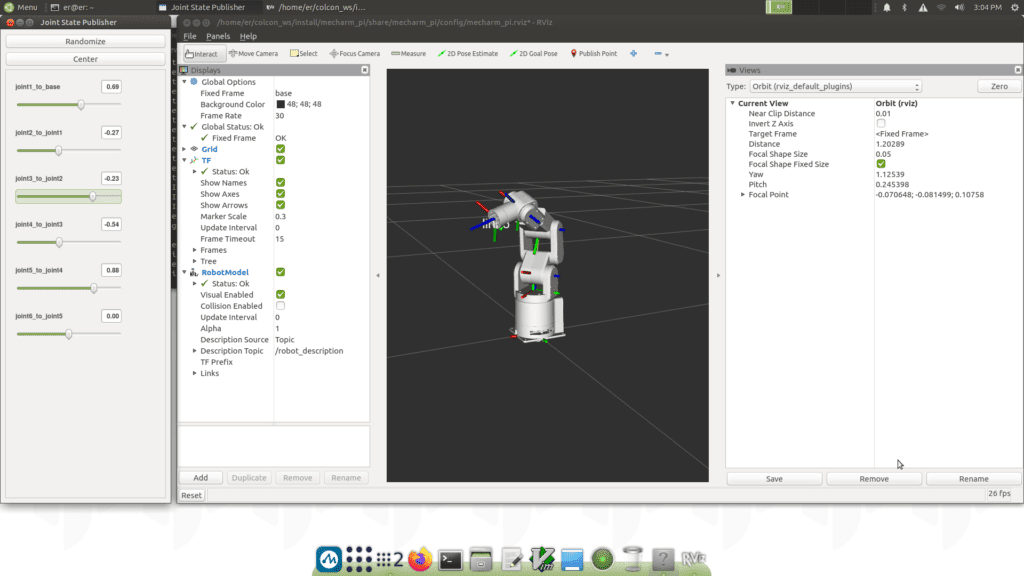
On the Ubuntu 20.04 update, I could get an RVIZ panel opened using ROS2. There is a basic slider control which will move the robot, though I found it unpredictable.
After experimenting for a while trying to program using the ROS2 interface, I gave up and went back to the myBlockly option which comes pre-installed. It does allow you to program simple motion sequences using “Set Angle” and “Sleep” function blocks, but if there’s a way to program acceleration / deceleration or a “wait” command, I was unable to find it.
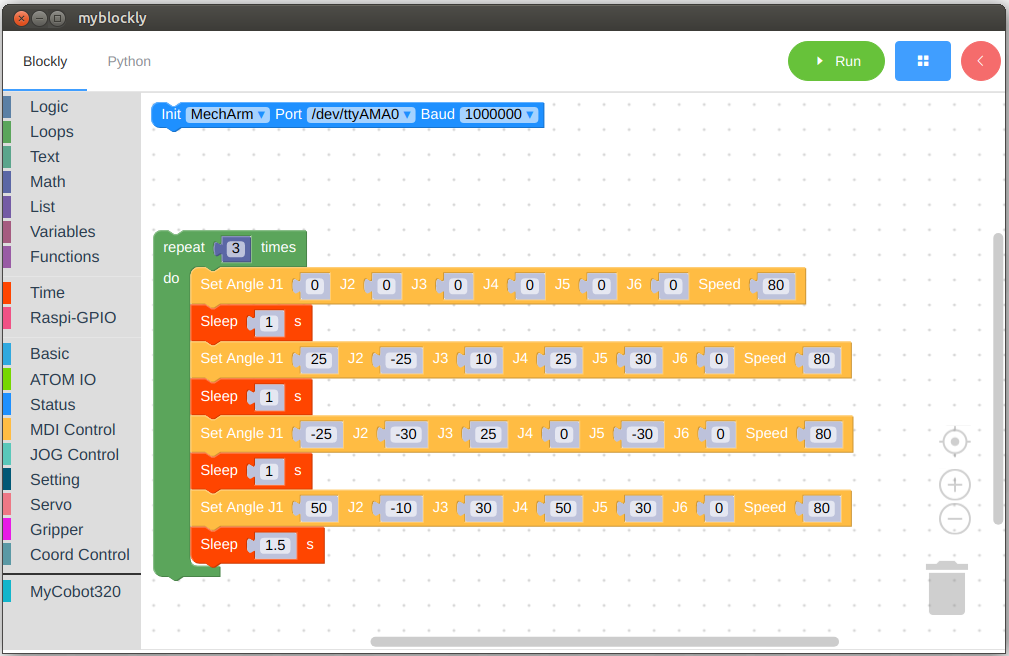
myBlockly has logical commands which allow for use of IO and peripherals, but my goal was just smooth & repeatable motion before going any further. I did eventually learn how to use the positioning control to automatically send joint values to the command blocks, which made general positioning easier, but the process requires several keystrokes for each new position and takes a while to get used to.
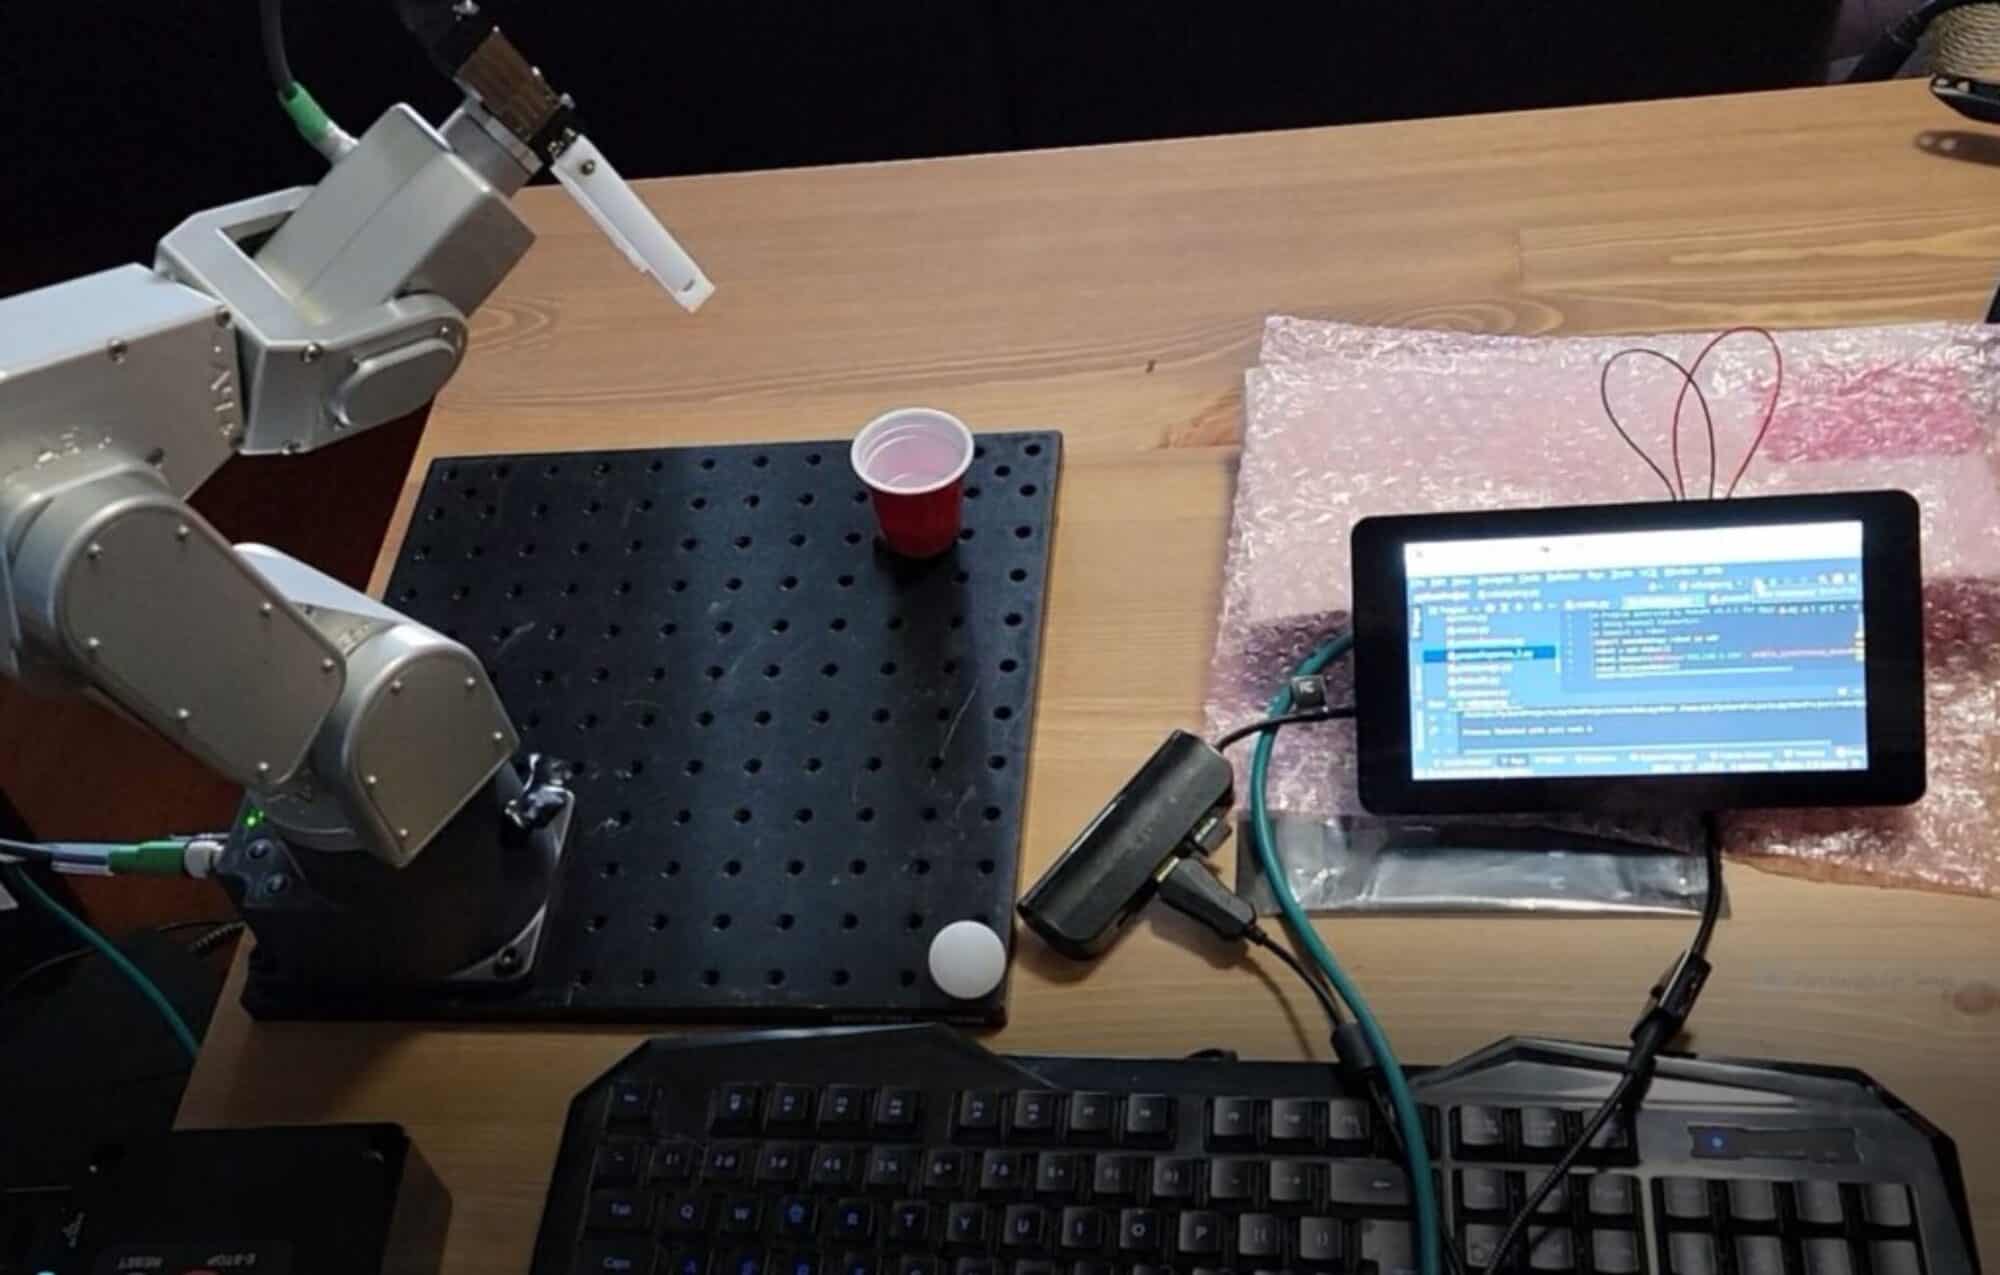
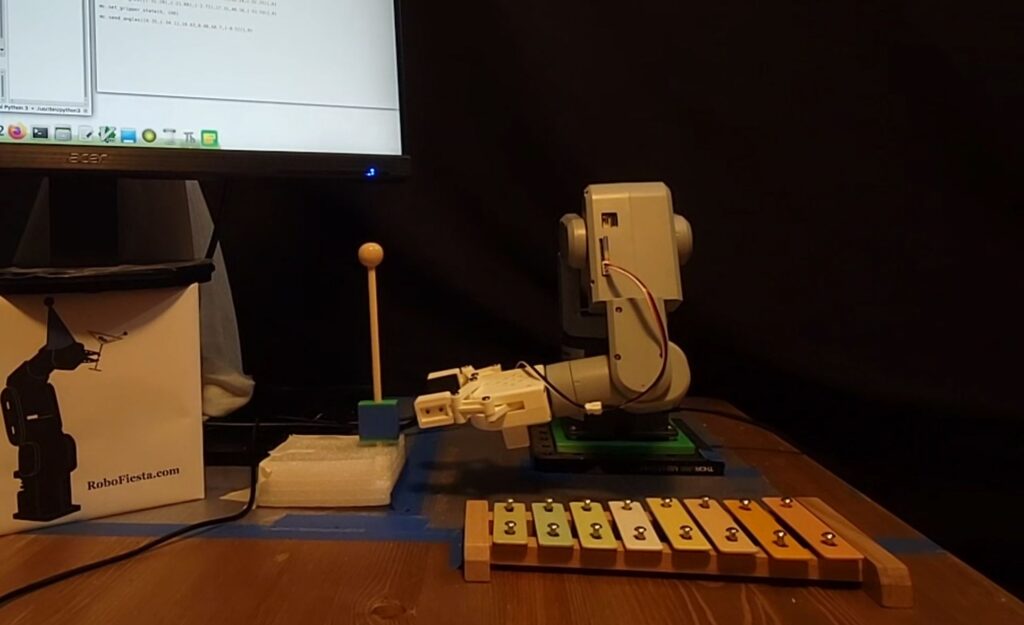
With the Elephant Robotics gripper installed on the MechArm, I wanted to program a short sequence of the robot playing a xylophone. It seemed like a simple task which didn’t require fine motion. Unfortunately, the gripper doesn’t close all the way, and the gripper force is very weak. It wouldn’t hold a small wooden xylophone mallet steady, even during slow motions. I printed off a simple square grip, in the hopes that it would increase the stability of grip on the mallet, but it didn’t work very well. This is the result of several hours of work:
LInk to video on YouTube: Mecharm 270 Pi – Learning Curve
During this experimentation, I wanted to try using Python to control the robot instead of myBlockly. My favorite lighter IDE is Thonny, which can be downloaded at Thonny.org
I installed Thonny on the Pi desktop. If you haven’t programmed in a Python environment before, there are many resources to help you get started at Python.org
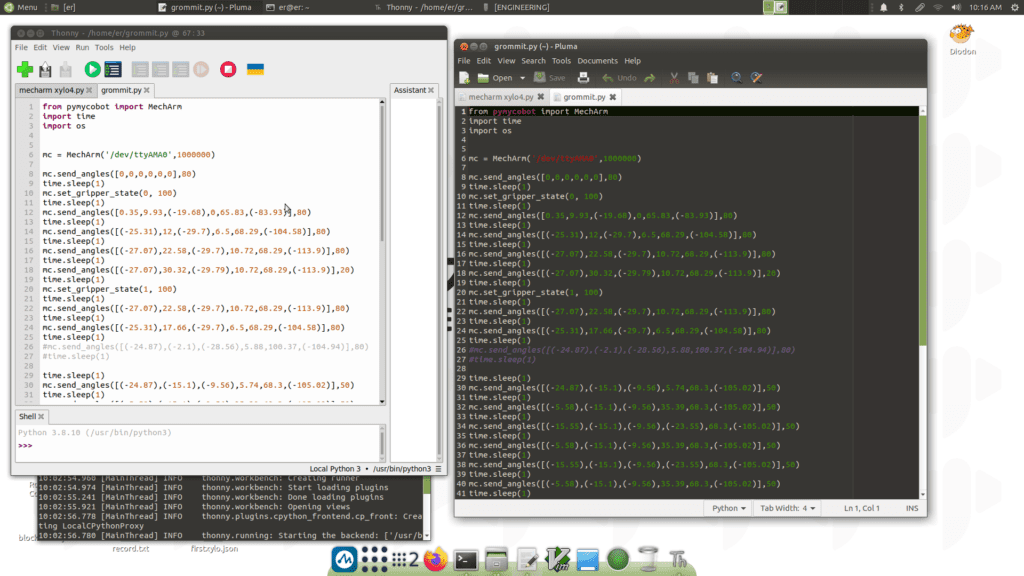
One frustration of the myBlockly app- while it will show you the python equivalent of your myBlockly commands (just click the Python tab), there isn’t an easy way to copy the python code.
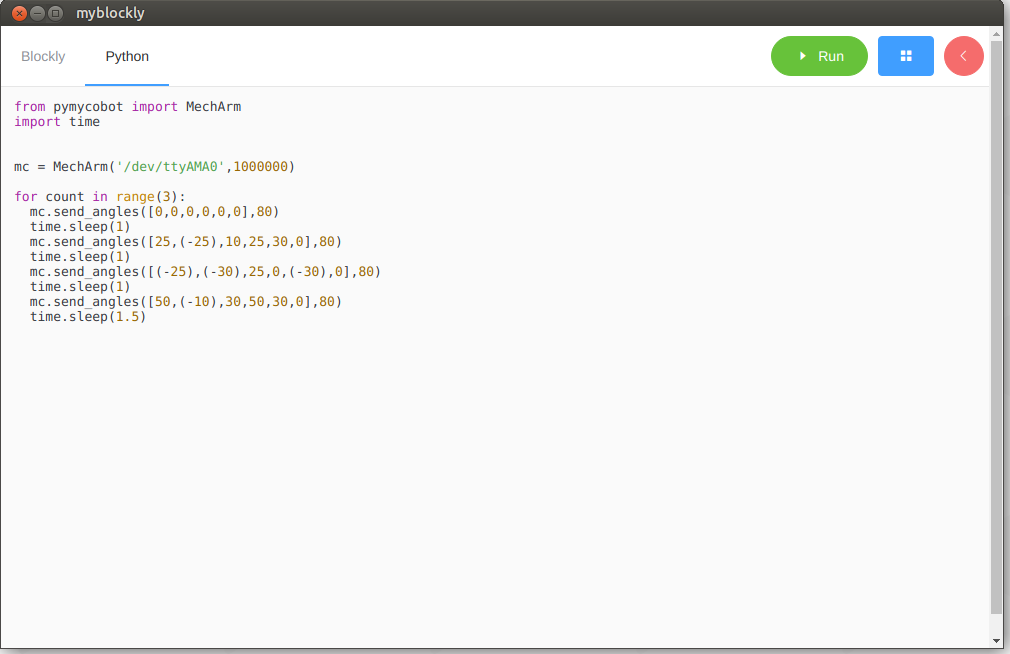
Insofar as I could tell, it would copy one time, then something got messed up in the clipboard and it wouldn’t copy again. Not sure if this is an Ubuntu thing, or a myBlockly thing, but it was annoying.
Trying to play to the Mecharm 270’s strengths, I decided to try a simple sequence with a toy the gripper would be able to pick up without difficulty. This sequence was done using Thonny to run the robot:
Link to video on Youtube: Mecharm 270 Pi Grommit Grab

In the next blog, the xylophone playing improves…
Product Links
Elephant Robotics MechArm270 Pi
MechArm 270 Gripper
SAMSUNG PRO Plus microSD Card
To get started with your Mecharm 270 Pi, you’ll need a keyboard, mouse, and monitor to plug in.
This is a great package deal for all 3:
https://amzn.to/4eSRZaJ
Separately:
compact USB keyboard
https://amzn.to/3We57jx
Basic ergonomic USB mouse
https://amzn.to/4bF5hF9
Good quality HDMI monitor
https://amzn.to/3LiNMQ4
DON’T FORGET THE MONITOR CABLE!
The Mecharm 270 Pi monitor port is a micro-HDMI. With an HDMI monitor, you’ll need an HDMI to micro-HDMI cable:
https://amzn.to/3WdGYcK
I use an ergonomic mouse pad which reduces the strain on your wrist:
Ergonomic Mouse Pad with Wrist Support
https://amzn.to/4eXRAnn
Green Printer Filament:
Gizmo Dorks 3mm ABS Green
Black Printer Filament:
Gizmo Dorks 3mm ABS Black
Blue Printer Filament:
Gizmo Dorks 3mm ABS Blue
Brown Printer Filament:
Gizmo Dorks 3mm ABS Brown
Clear Printer Filament:
Gizmo Dorks 3mm ABS Clear
Red Printer Filament:
Gizmo Dorks 3mm ABS Red
3D Printer
We highly recommend the Flashforge line of 3D printers for printing your robotic EOAT and staging parts:
FLASHFORGE 3D Printer Guider II Large Size Intelligent Industrial Grade 3D Printer
FLASHFORGE Guider IIS 3D Printer Auto Leveling with High Temperature Nozzle
FLASHFORGE Adventurer 5M Pro 3D Printer with 1 Click Auto Printing System
FLASHFORGE Adventurer 5M 3D Printer with Fully Auto Leveling
FLASHFORGE 3D Printer Adventurer Series with Auto Leveling with Quick Removable Nozzle
Disclaimer: As a participant in the Amazon Affiliate program, we earn a small commission if you make a purchase through one of these links, at no additional cost to you.