Having a soldering iron, a few build-a-breadboard kits, and a precision robot, it was only a matter of time before I made a robotic soldering video.
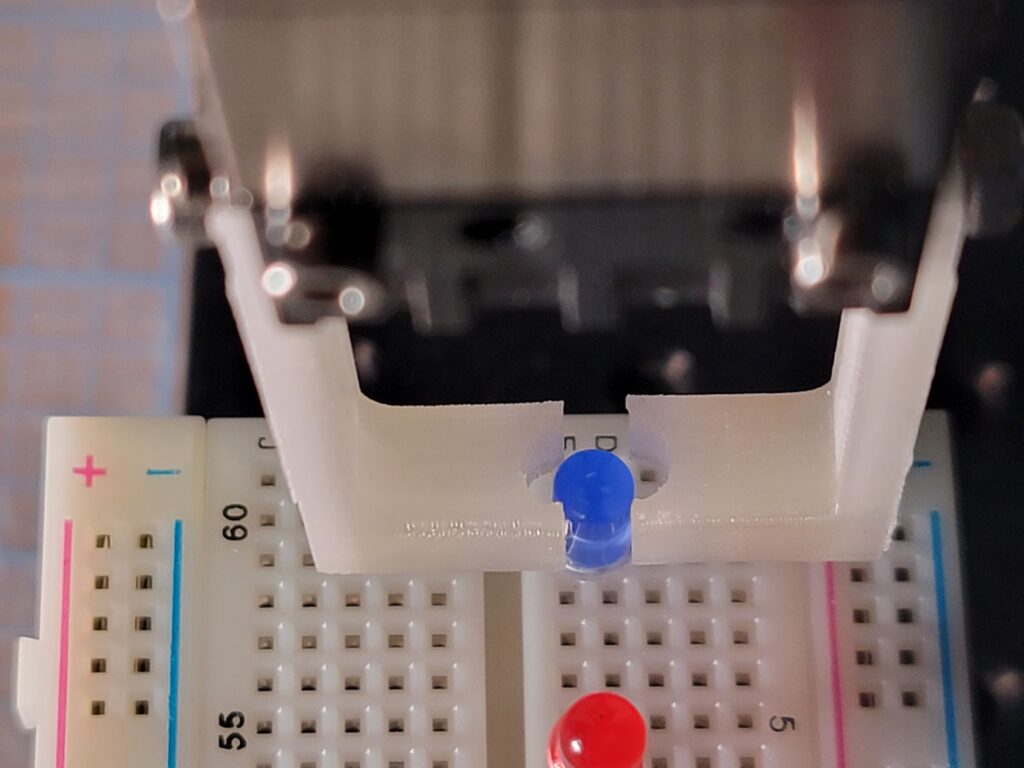
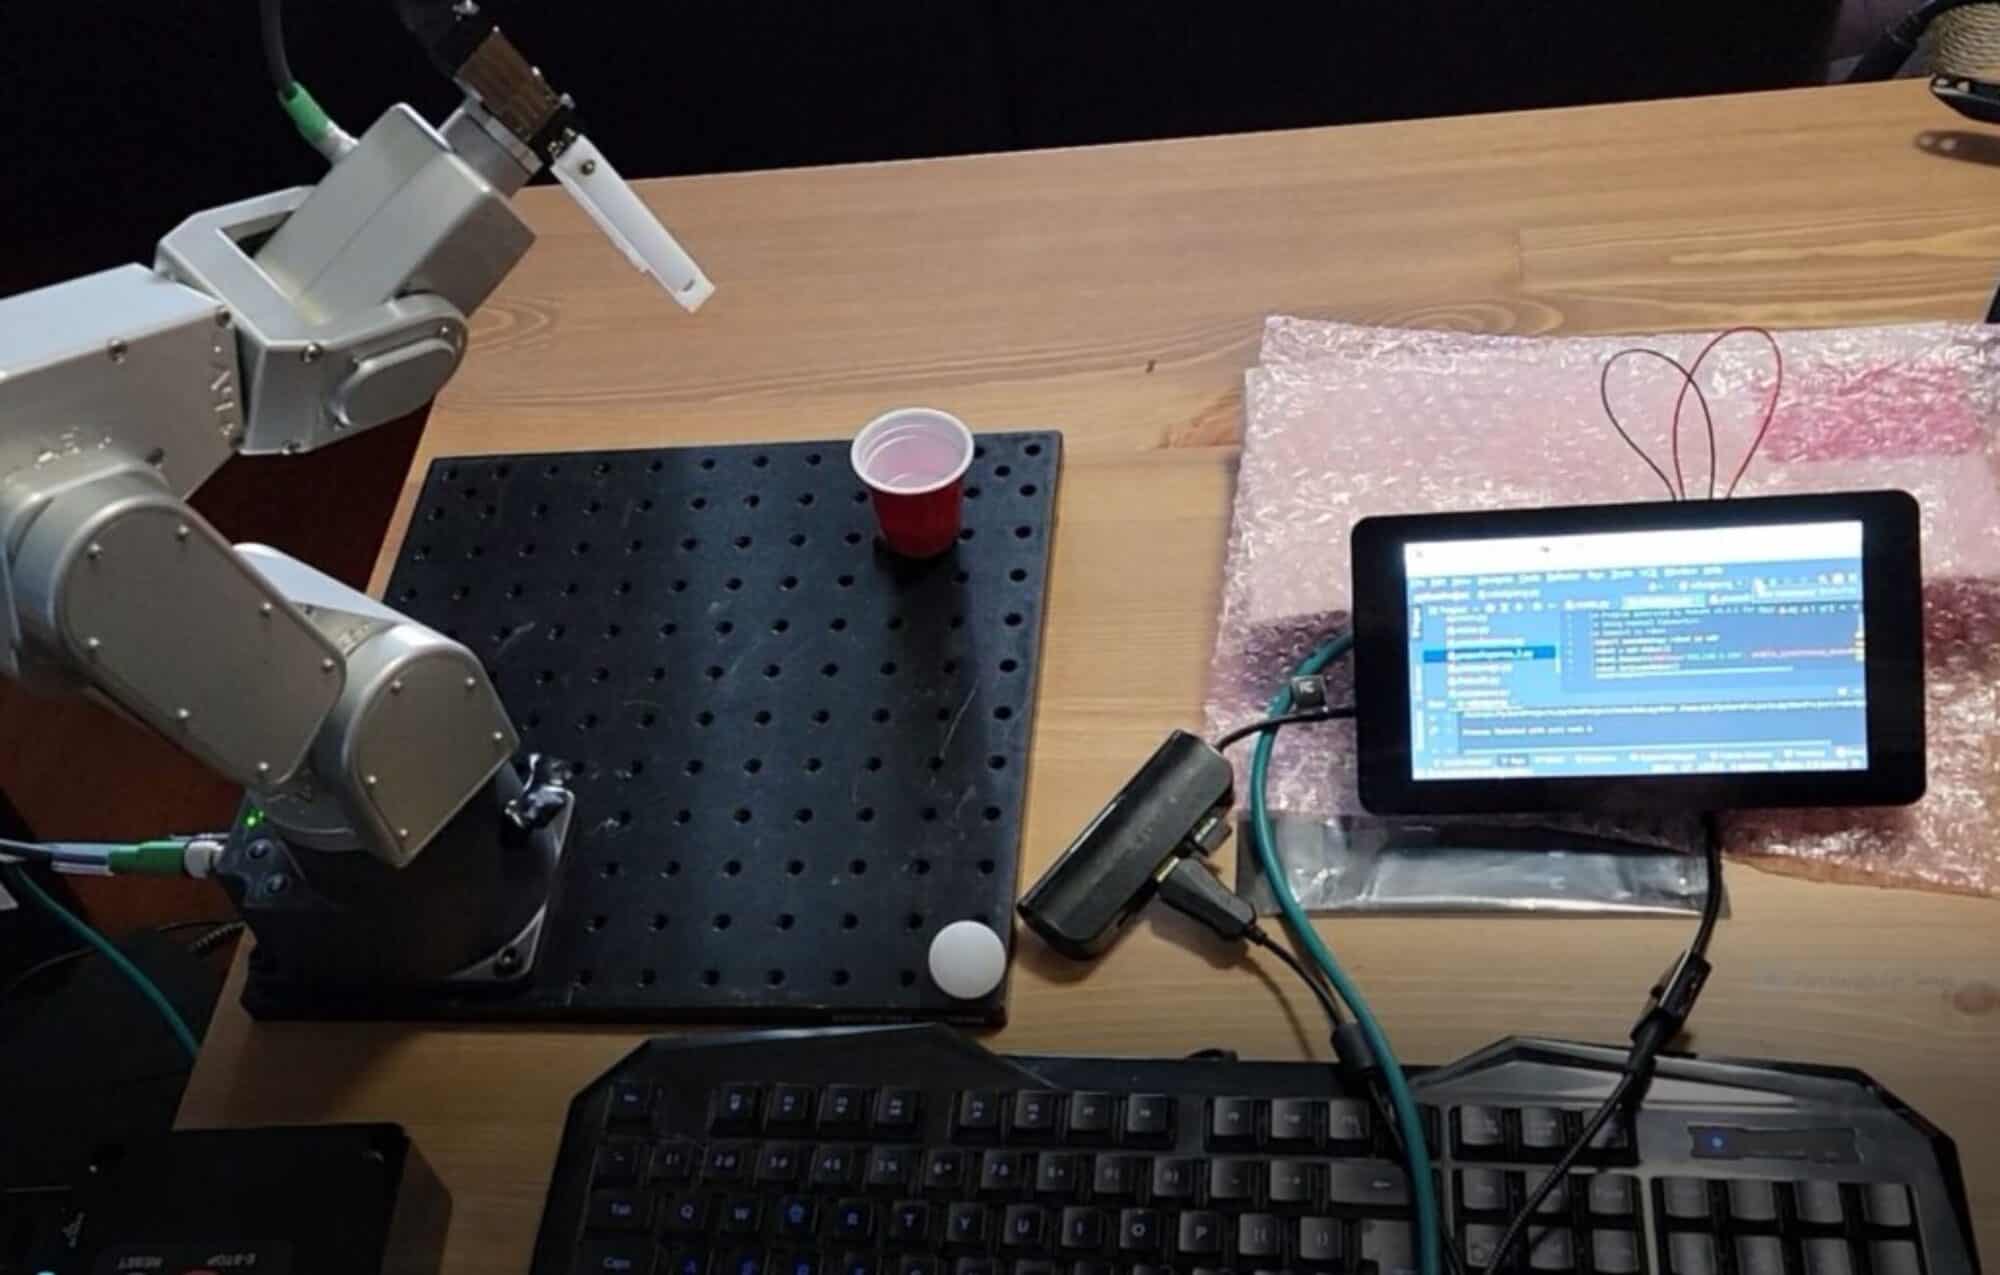
In another video- Mecademic Meca 500 Diode Loading Demo – we saw how the Meca 500 had the precision and agility to pick ‘n’ place diodes with delicate, easily-bent legs. The key to placement, I found, was inserting a “shimmy” during the -Z motion; the EOAT essentially “shivers” to ensure the diode legs don’t hang up on the edges of the breadboard ports. Details & code available in my post, “Mecademic Diode Load“
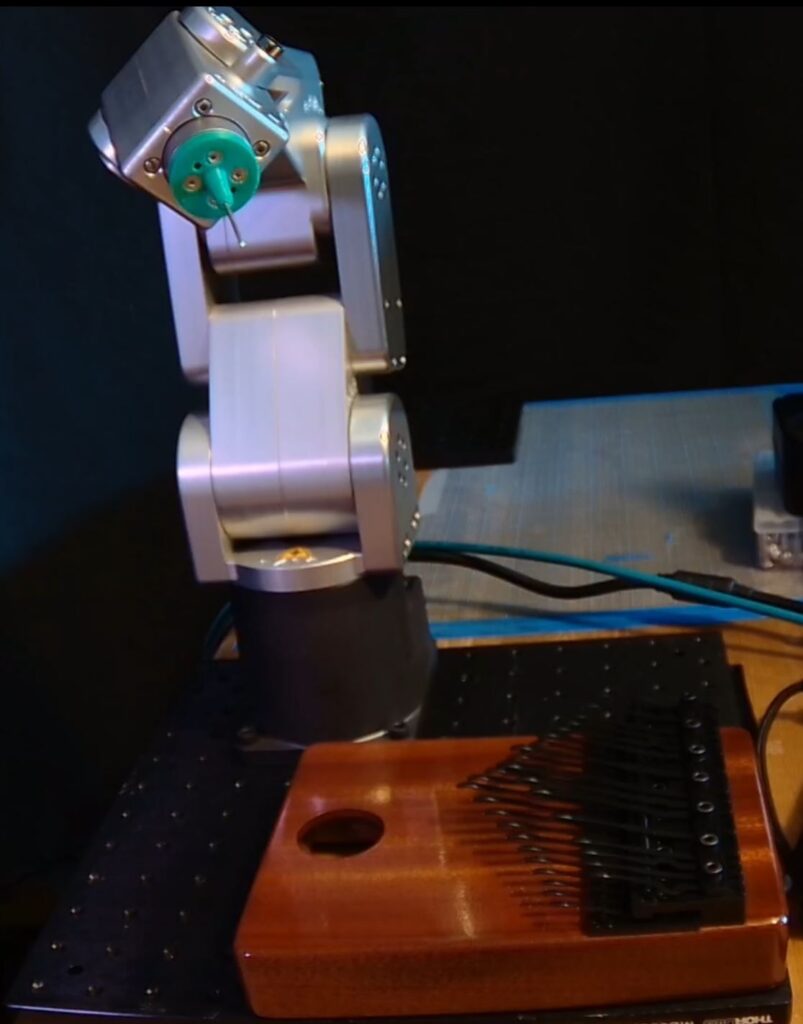
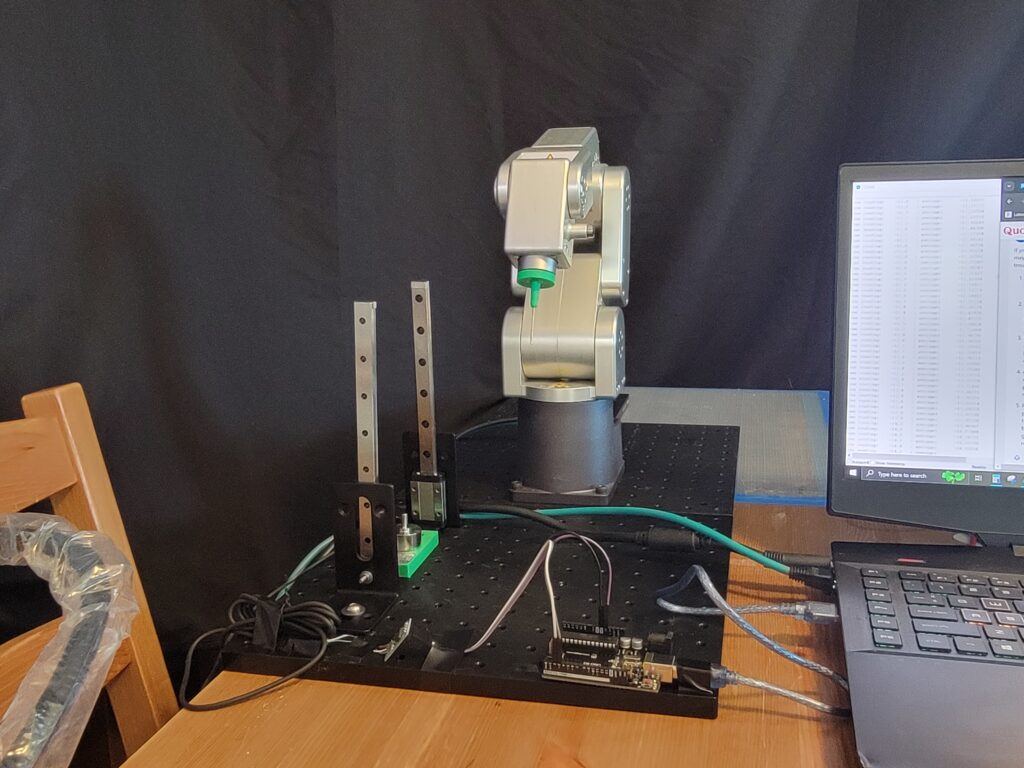
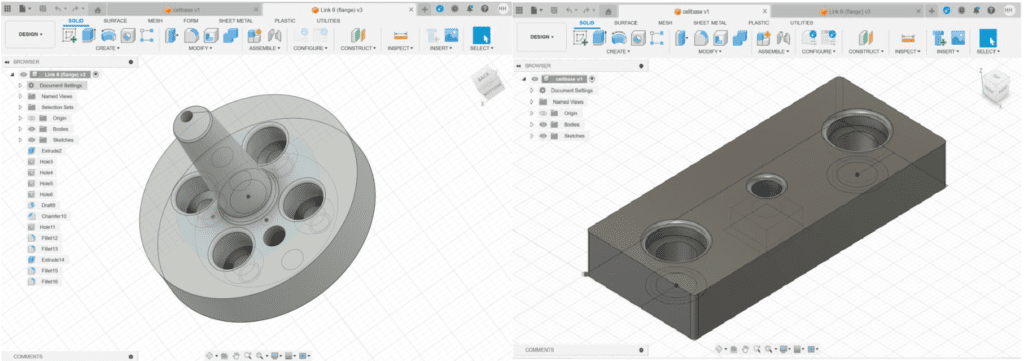
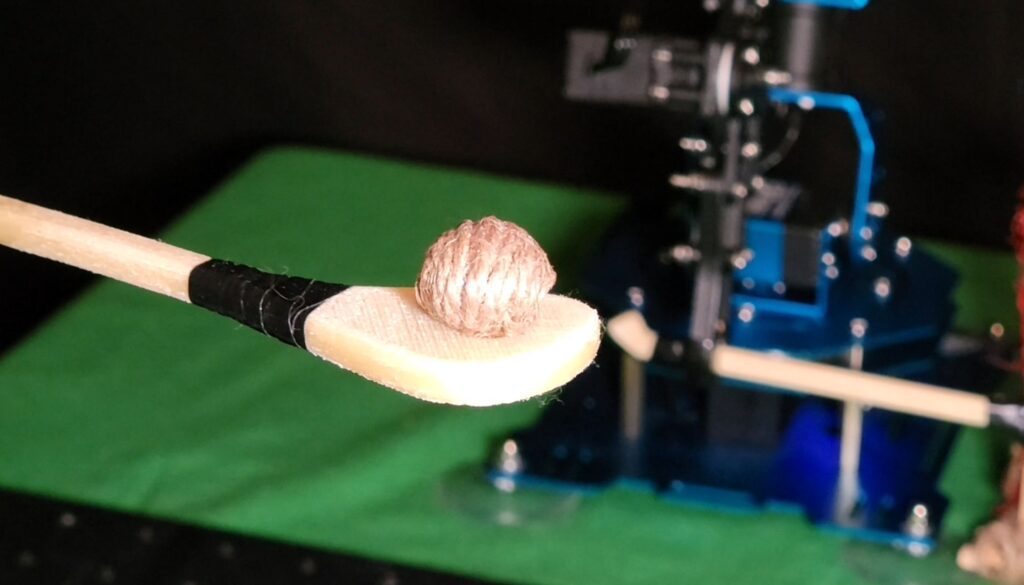
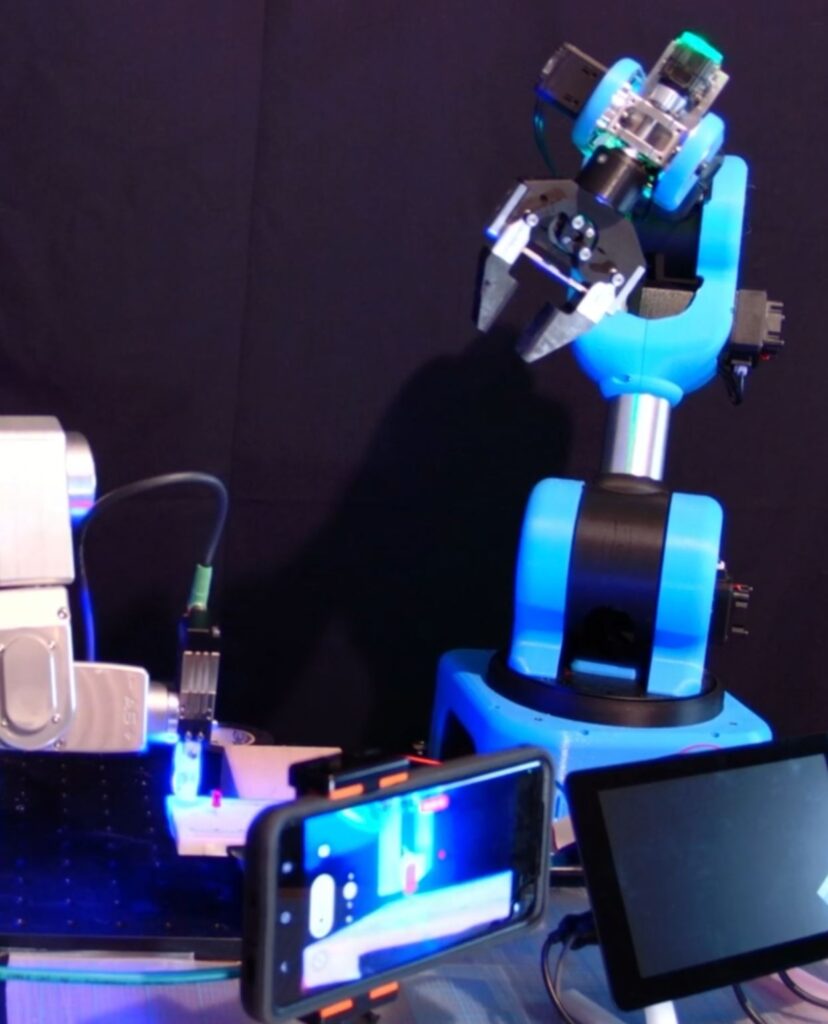
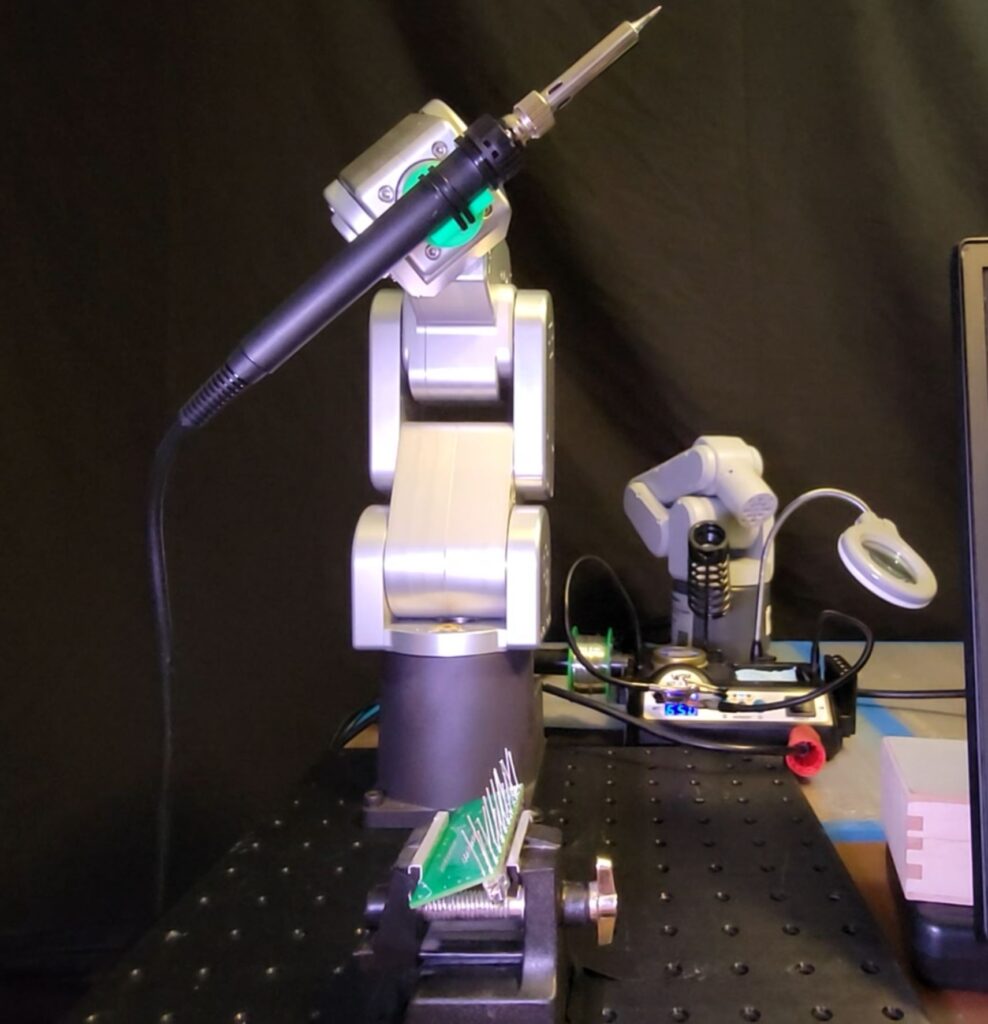
I had intended to print a custom EOAT to grip the soldering iron, but had an extra-long print running at the time ( base adapter for our new Elephant Robot ); I ended up using a utility EOAT with through holes for zipties to securely attach the iron.
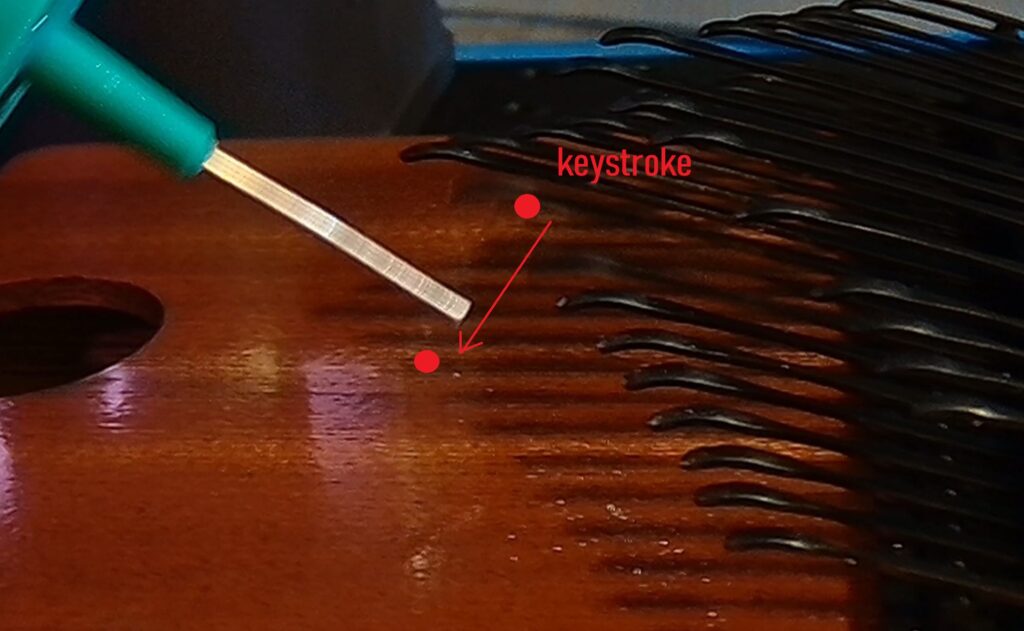
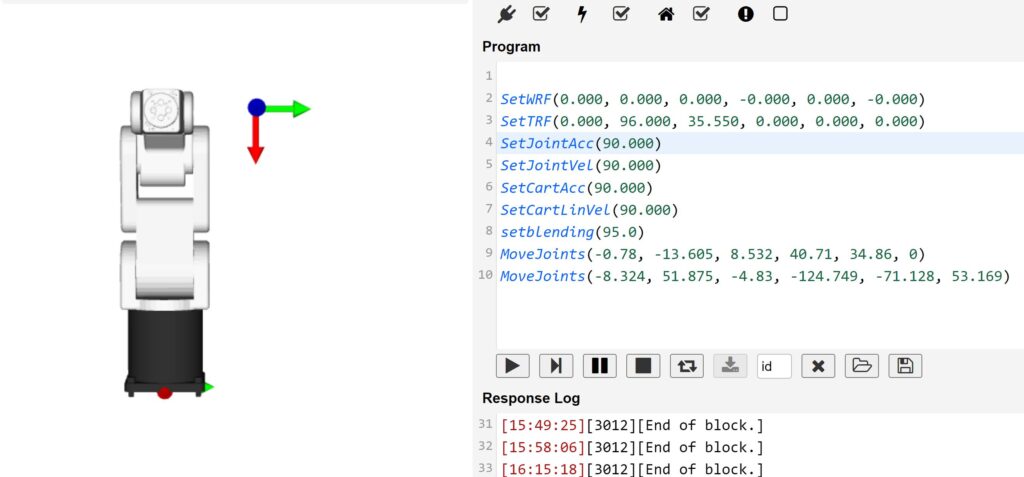
To determine TCP (tool center point), I measured EOAT length to center of iron for Z (35.55mm), and centerline of EOAT to tip of iron for X (96.0mm).
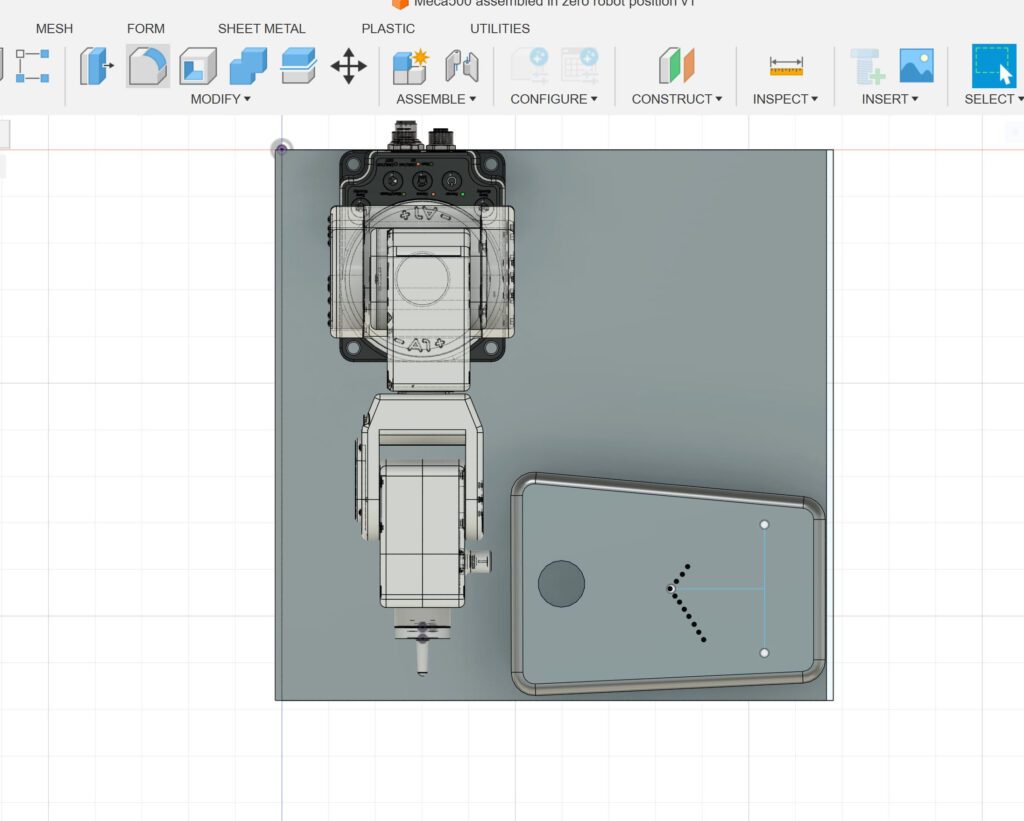
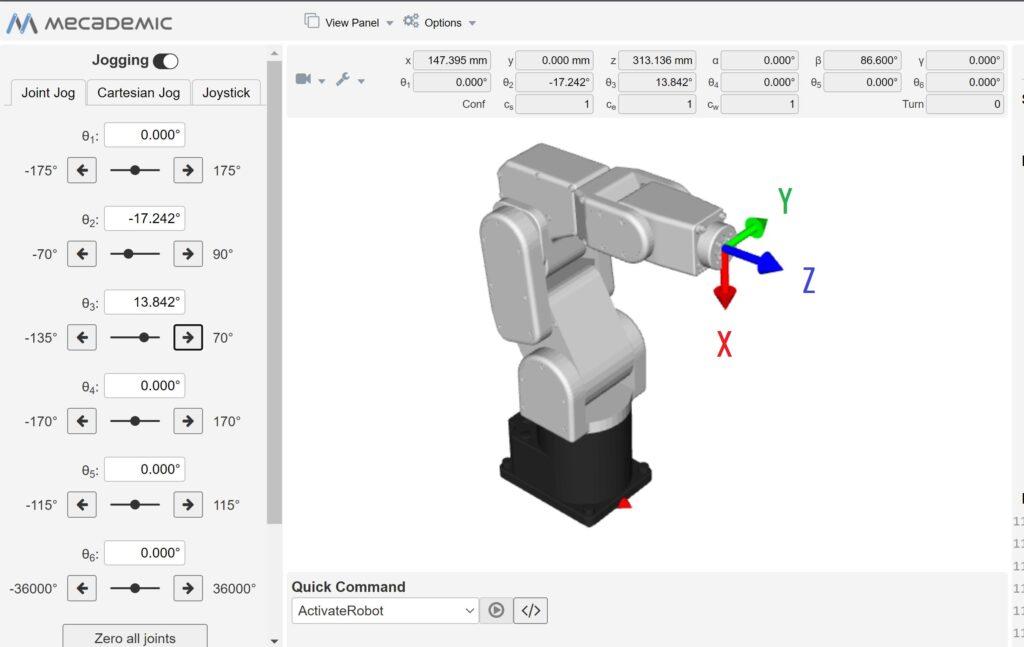
Fine-tuning the smooth motion necessary for the delicate job of soldering is a joy with the Meca 500’s ability to jog in extremely small increments; I practiced on both of the following boards, using the 10 LED board for the video:
10 LEDs Soldering Practice Board
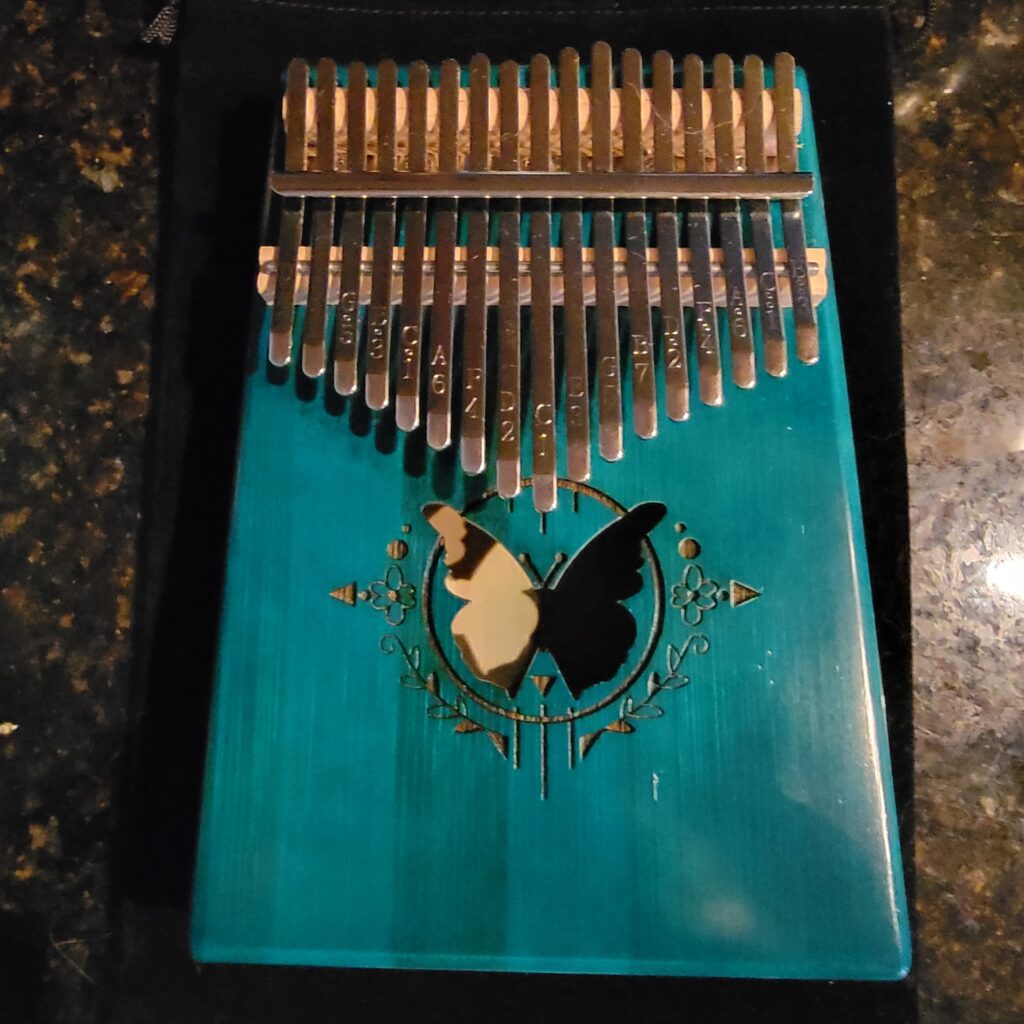
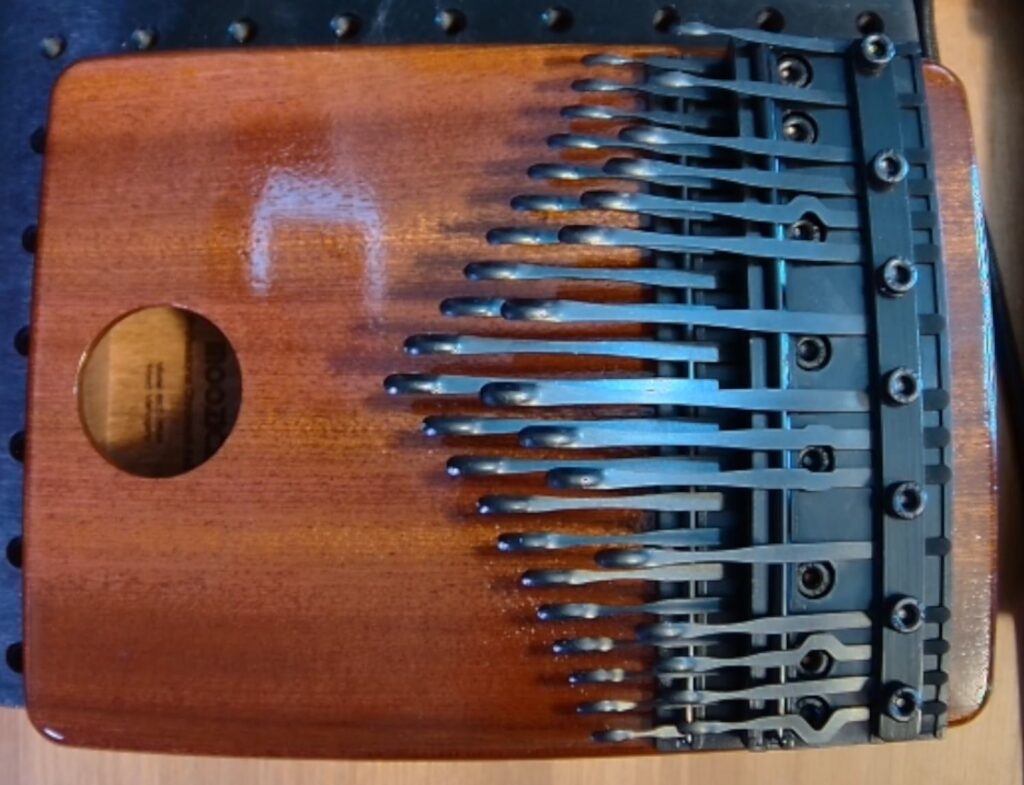
Electronic Piano Soldering Kit
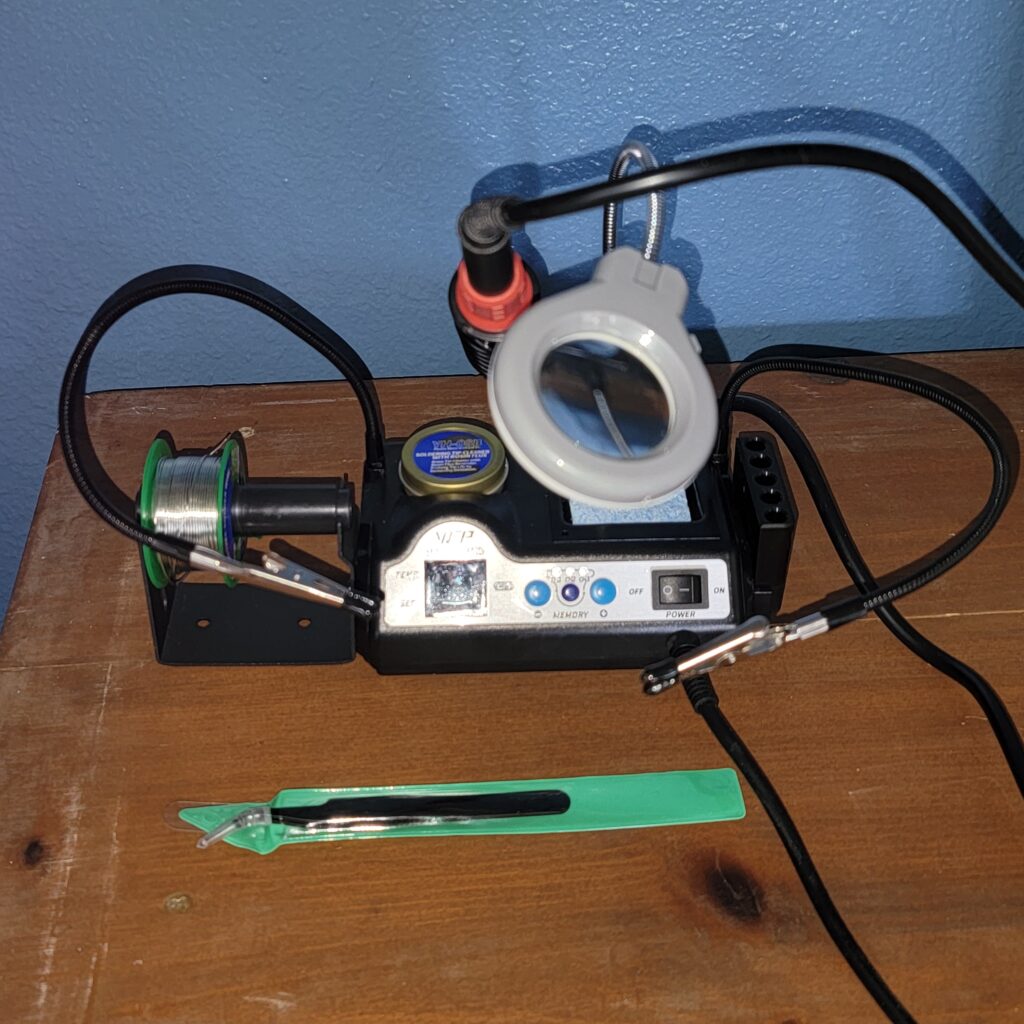
As mentioned before, I love this soldering iron kit; it’s great value for money as well:
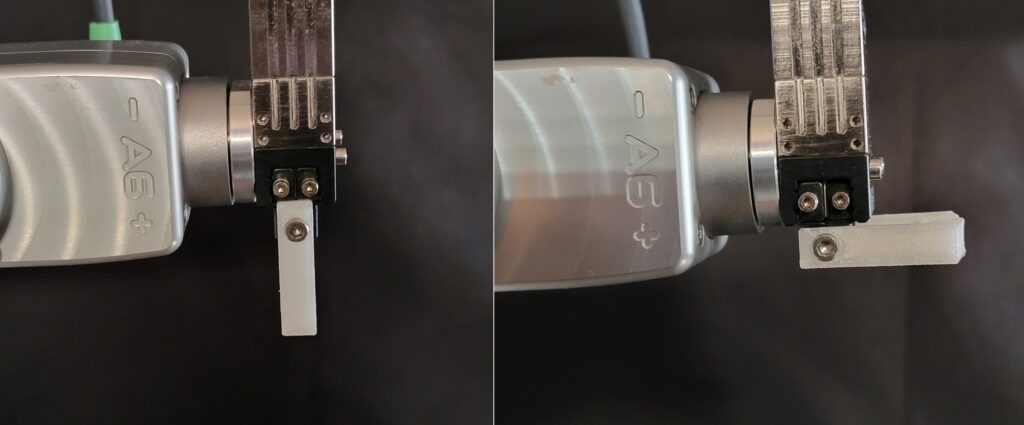
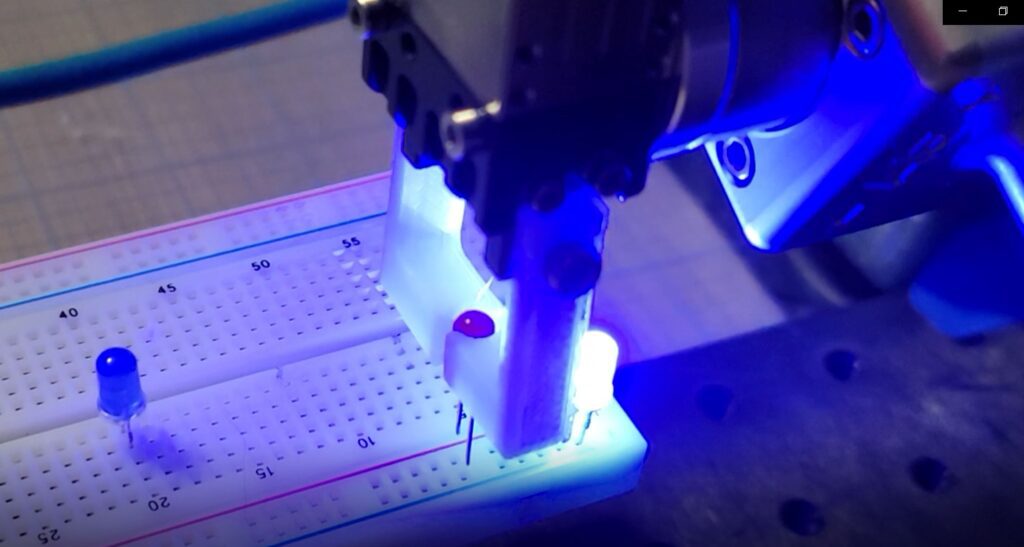
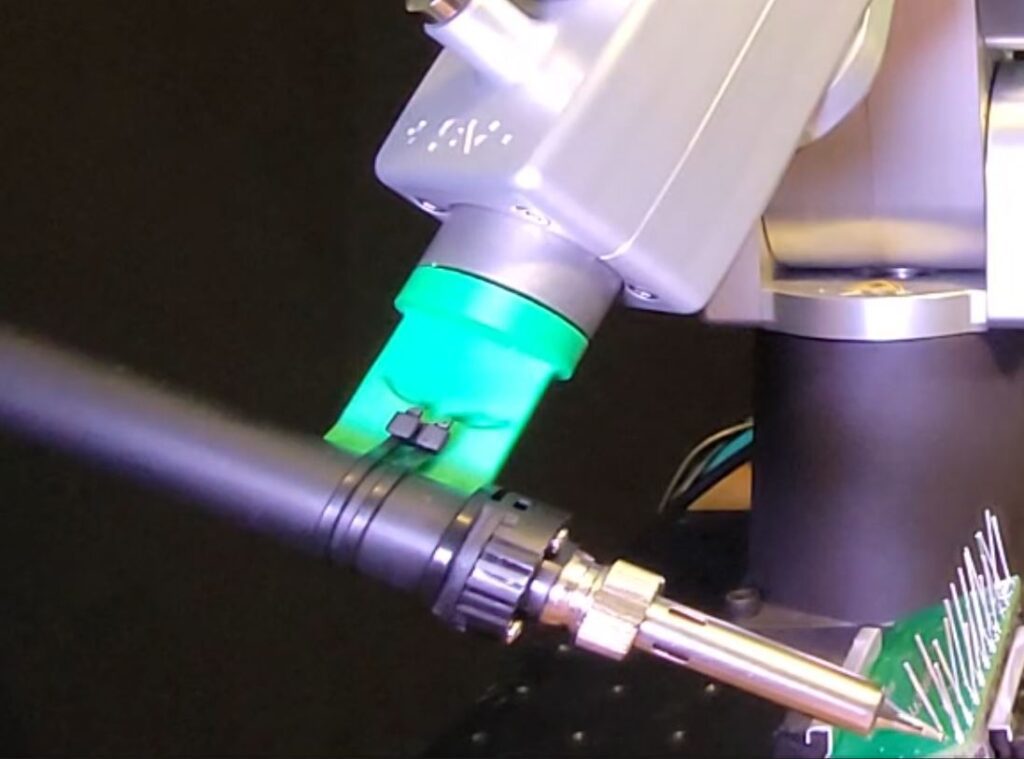
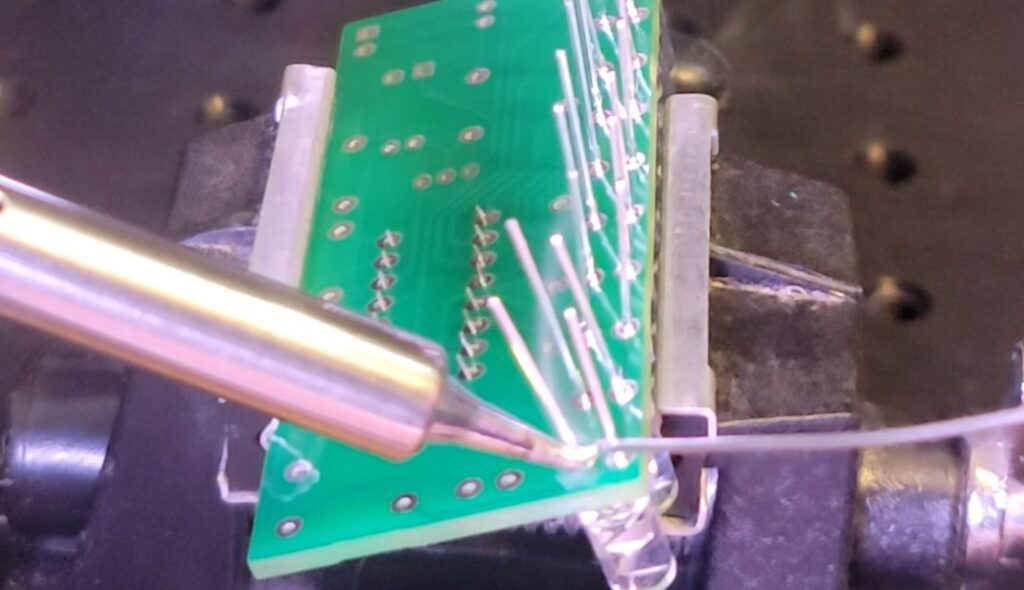
I re-ran the motion sequence several times during filming with the iron off, to make sure the soldering tip wasn’t impacting the diode legs with too much force. I kept the blending value at 0 for the fine motion, as speed wasn’t the goal. The move / safe motion between diode legs is a little exaggerated, so it was more visible in the video.
The cold iron practice has a 1 second dwell at each diode leg. For the segment where I actually solder, I increased the dwell to 2 seconds per leg to make sure a good melt & solder joint was possible.
Here’s the code for both 1 sec and 2 sec dwell soldering sequences:
Here’s the link to the video on Youtube: RoboFiesta Mecademic Meca 500 Diode Soldering Practice
Disclaimer: As a participant in the Amazon Affiliate program, we earn a small commission if you make a purchase through one of the links in this post, at no additional cost to you.