When you need to weigh things, repeatedly..
A rainy weekend, a load cell, a robot, and a raspberry pi all got together… ok, this is a small project that is part of a larger project that I’m doing in stages. And, keen eyes will have spotted that the unit in the image above is of the Arduino flavor, as opposed to Raspberry. For more on that, read on.
Initial Setup
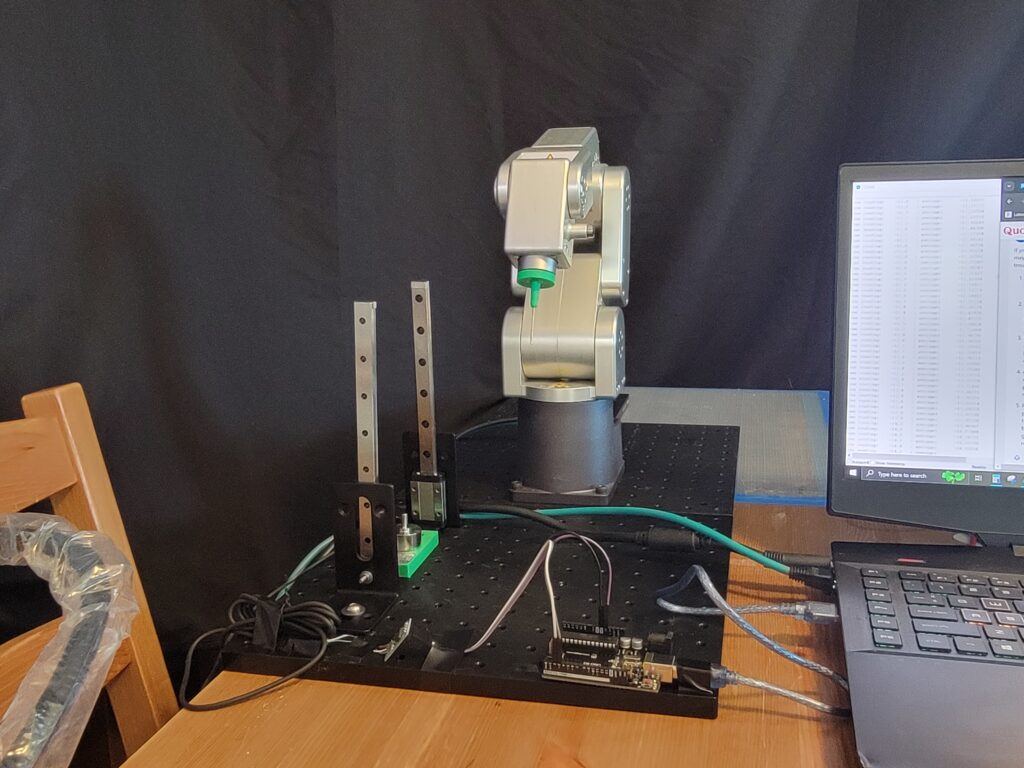
I’m a big fan of the Raspberry Pi, and have several Pi4s that have proven very useful and adaptable, so a Raspberry Pi4 was the natural first choice for this project.
I’ve run the Mecademic interface through a Pi before as well, and the robot would be a part of the loadcell demo. I broke out the Pi with display and GPIO board, and went to work.
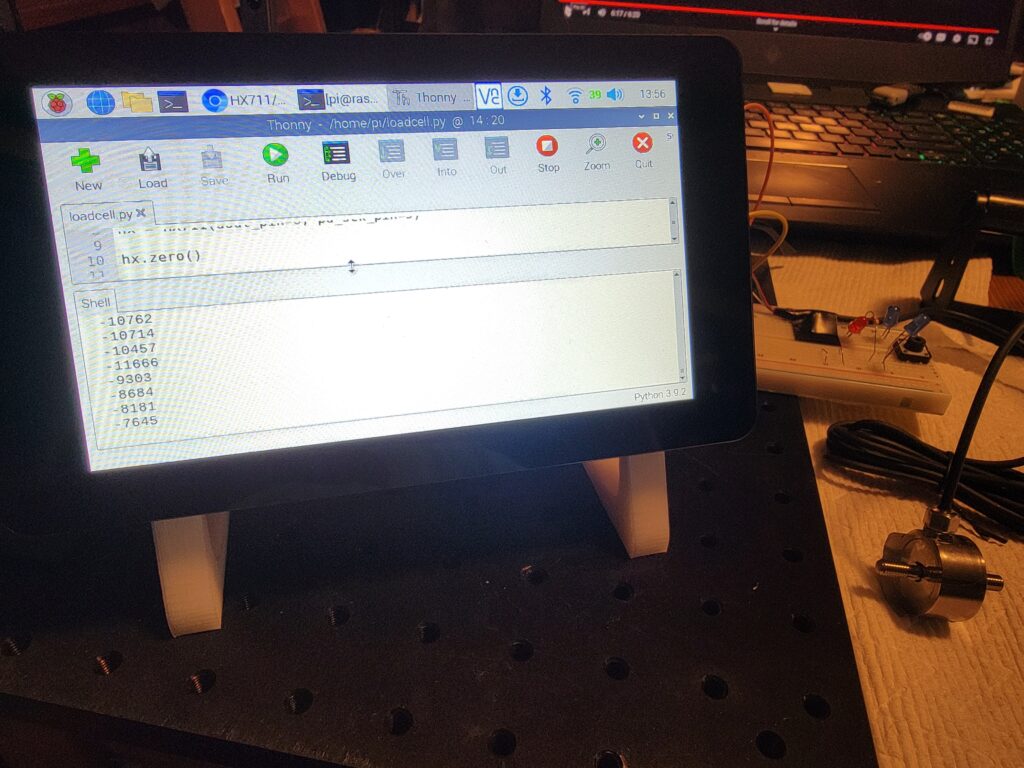
The issue I couldn’t get past when using the Raspberry Pi4 is well known in HX711 circles, it has to do with the timing of amplifier and the sequence of Pi operations; the Pi isn’t really set up for this type of measurements. Even with many measurements for tare & an extensive warm-up time, the values would drift, reset, and drift again; it wouldn’t settle down. There is a better explanation on this Github Readme by tatobari: https://github.com/tatobari/hx711py/
I eventually set aside the Pi4 and started looking at Arduino-type microcontrollers, more on that in the next section.
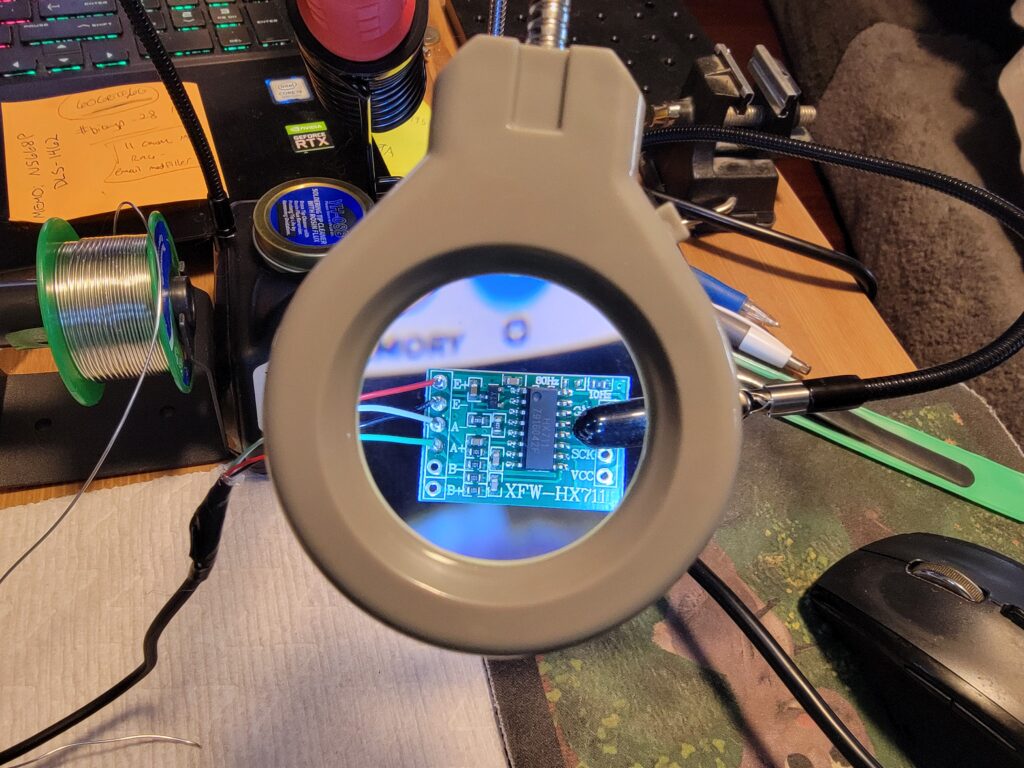
The load cell is a Calt DYMH-103 wired through an HX711 amplifier.
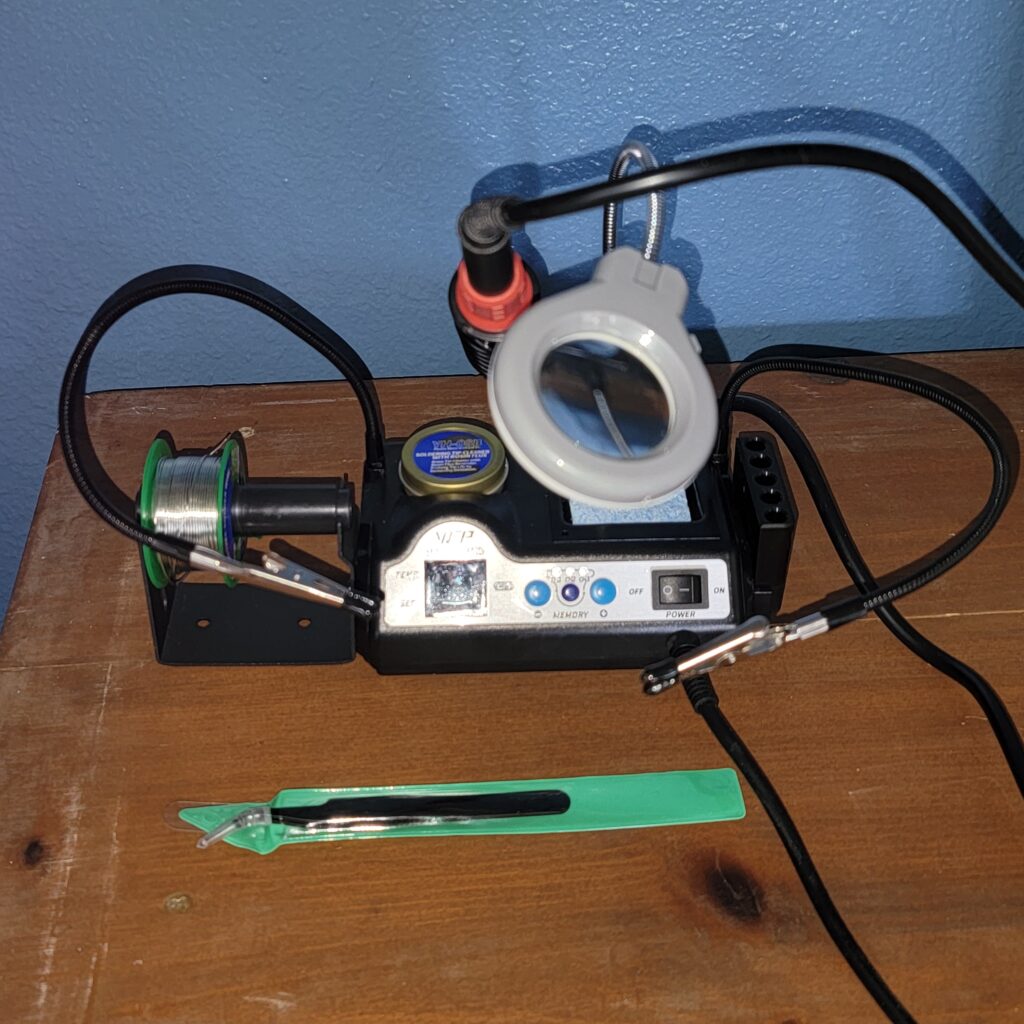
A note about the amplifier- the HX711 is low-cost and readily available, but, if you’re going to incorporate one into a project, do yourself a favor and get a decent soldering iron (if you don’t already have one). I started out using a time-worn old iron I’ve had for years, and damaged 2 amplifier boards before finally ordering a new soldering iron (WEP 927-IV, available here on Amazon). Wow, what a difference that made- I’m really happy with it.
Arduino
I’ve played around with Arduinos in the past, they’ve been around for years, but it’s been a while. I ordered a basic Arduino platform starter kit with the processor and some fun extras I will try out in future: Elegoo Uno R3
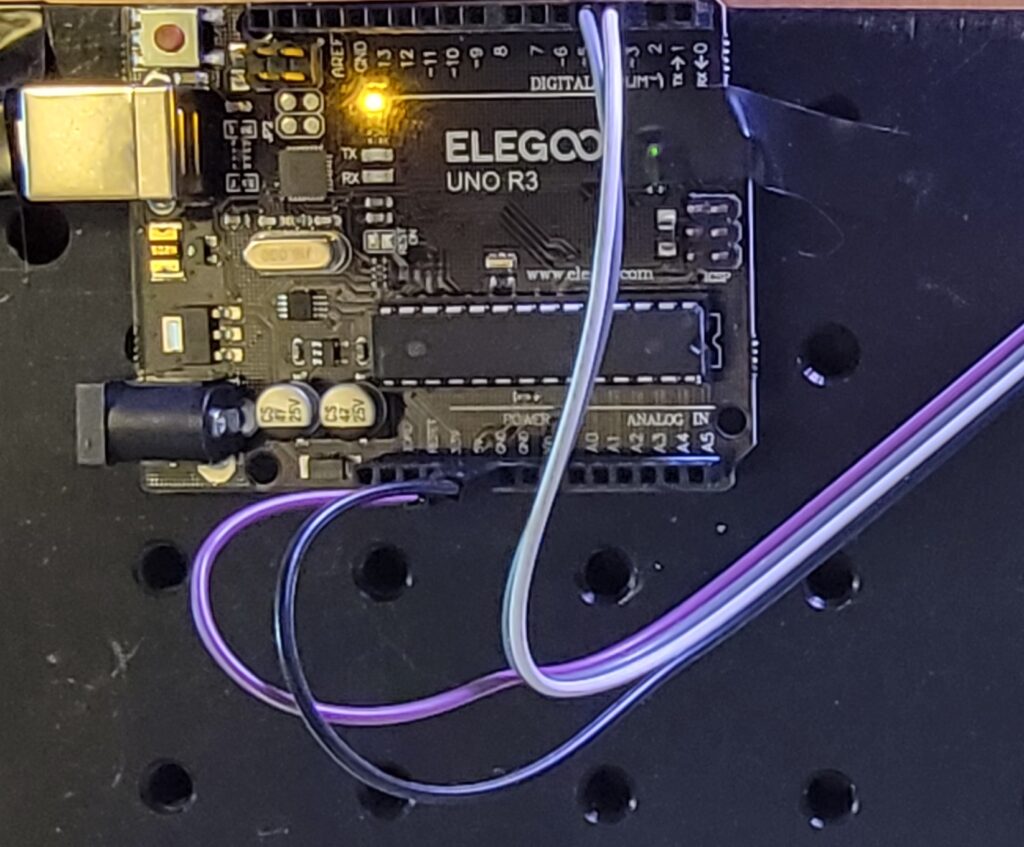
The Arduino connects to the laptop through a USB cable. The programming interface is a simple IDE which can be downloaded from this website: https://www.arduino.cc/
The code I used was from https://randomnerdtutorials.com/arduino-load-cell-hx711/
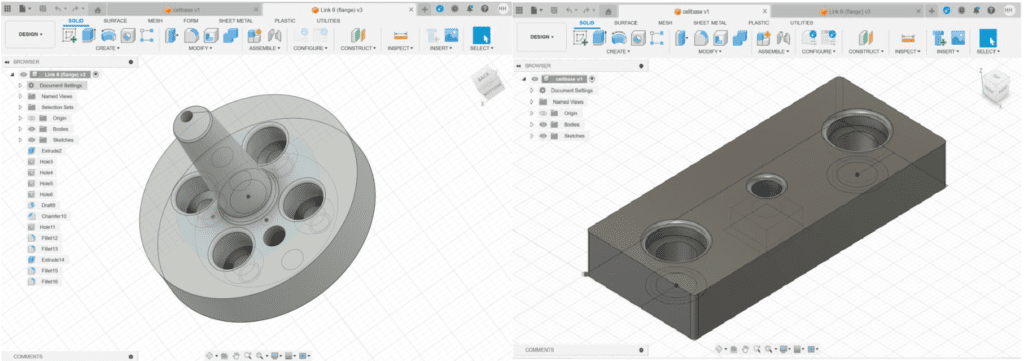
Printed Parts
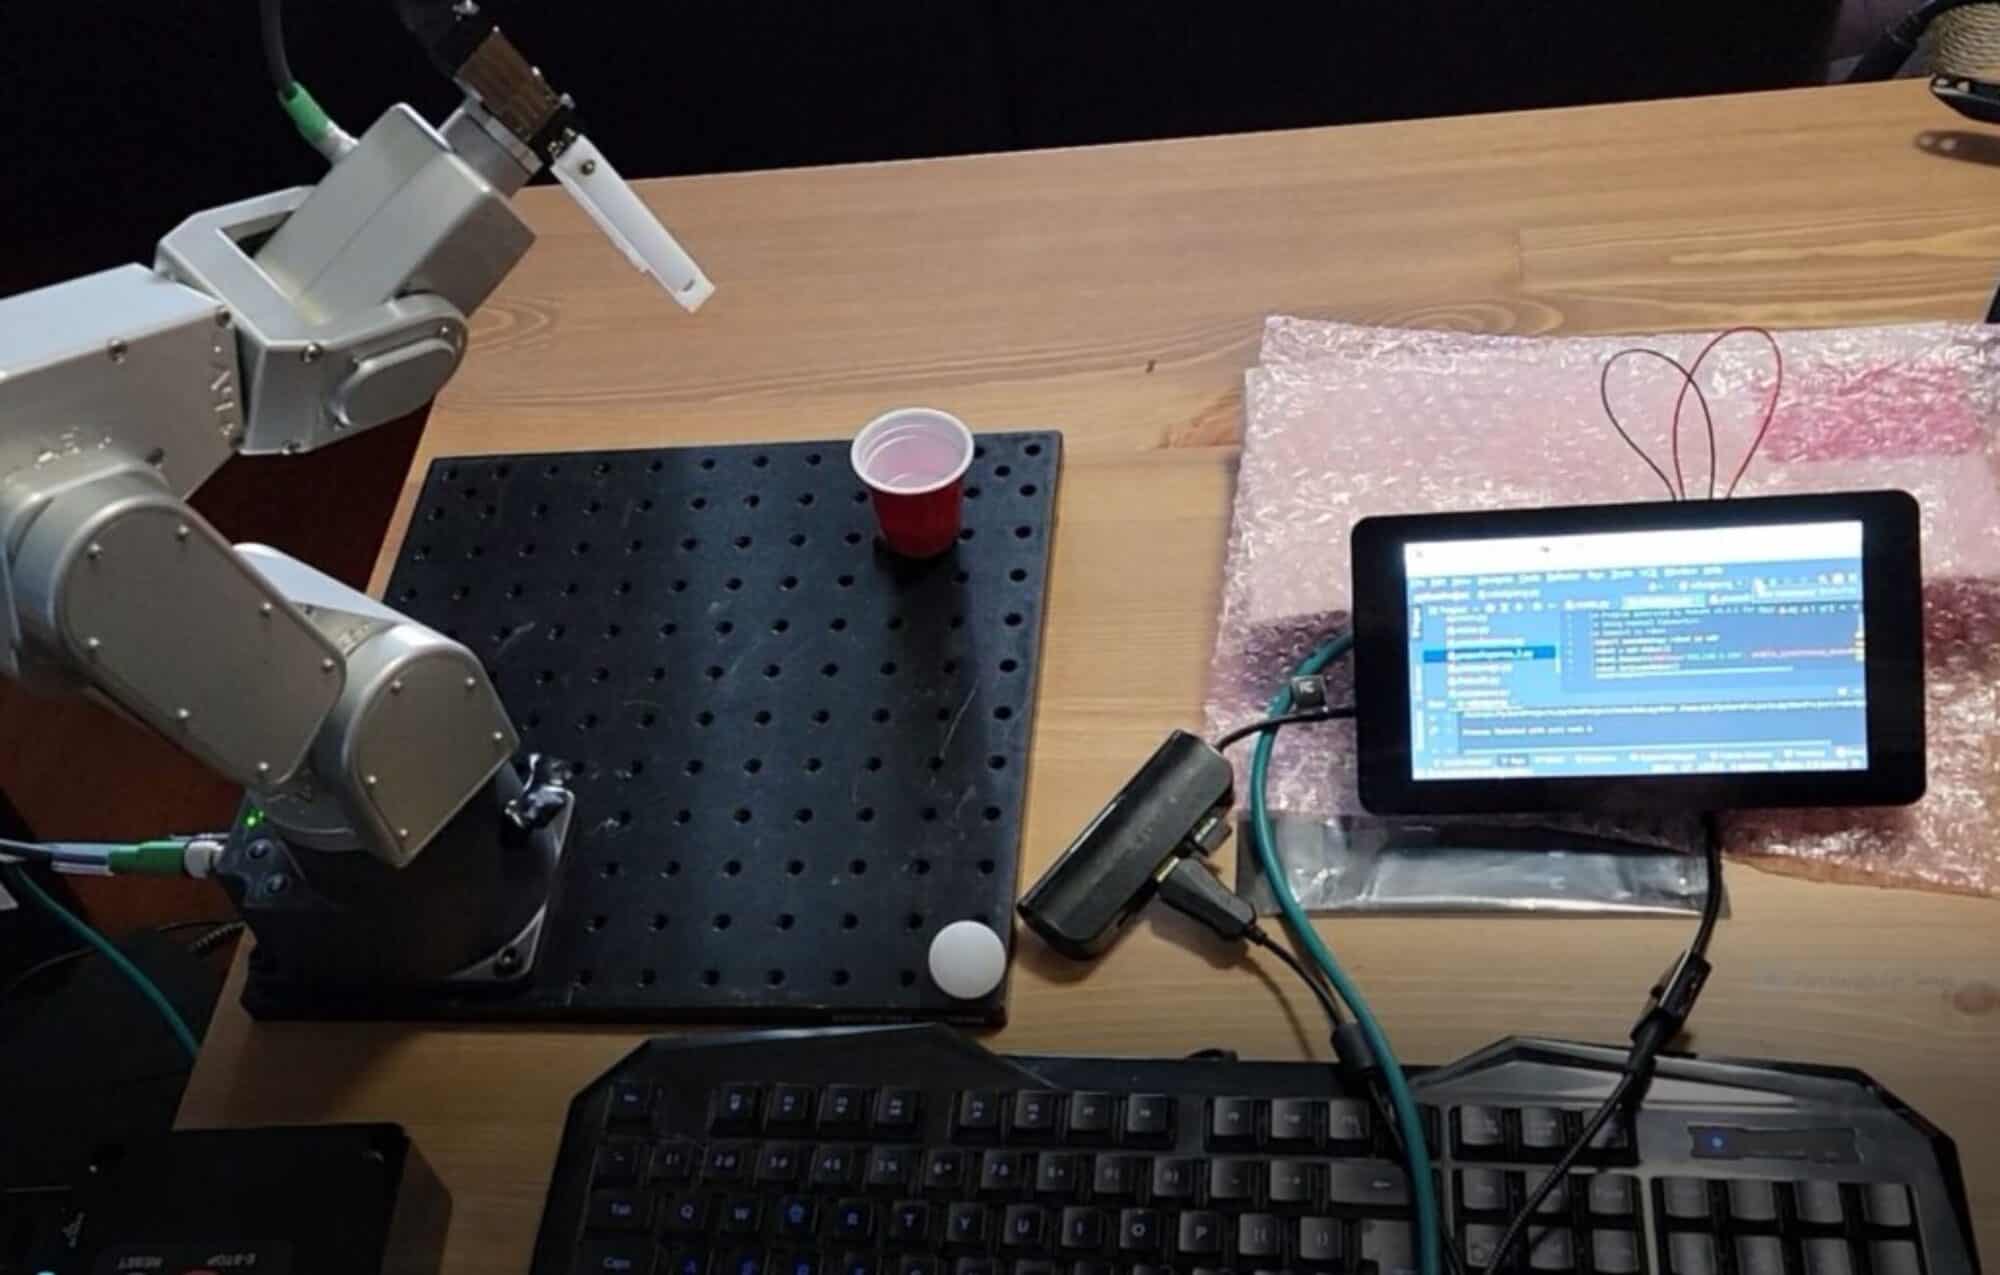
I printed 2 parts for this testing- a new EOAT to hold a 1.5mm aluminum probe tip, and a retainer to fasten the load cell to the optical board.
Testing
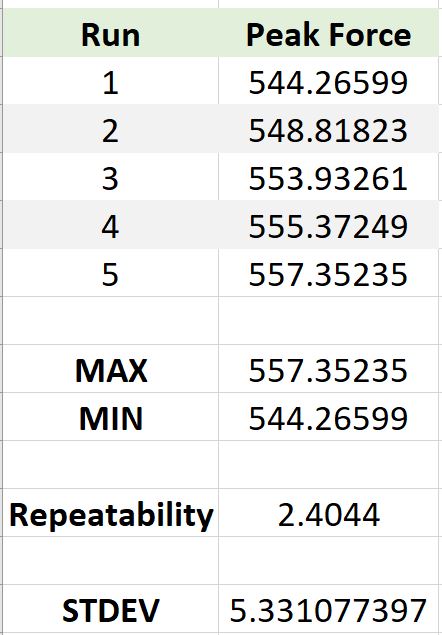
Once the test rig & code were finished, I programmed a brief 5 run sequence for the Mecademic which would place the probe tip at the same position (within a few microns) each cycle. This isn’t a perfect load cell test, but for my hobby purposes works pretty well for the goal of exerting the same amount of force for each run.
You can watch the Youtube video of the test here.
The load cell isn’t an expensive one, and I was using a kitchen scale to get the known weight (of a bunch of washers taped together) for tare; not exactly high-tech. Even so, for a just-for-fun hobby-type setup, the measured repeatability of the loadcell in this example is actually better than I thought it would be:
Product Links:
This loadcell setup was made with components available on Amazon:
Elegoo Uno Arduino Starter Kit
WEP 927 IV Soldering Station Kit
HX711 Loadcell Amplifiers
CALT DYMH-103 Mini Load Cell
Robot stage
Optical Plate Flat Aluminum Honeycomb Breadboard: https://amzn.to/4aKMuYR
3D Printer
We highly recommend the Flashforge line of 3D printers for printing your robotic EOAT and staging parts:
FLASHFORGE 3D Printer Guider II Large Size Intelligent Industrial Grade 3D Printer https://amzn.to/3VKaGGA
FLASHFORGE Guider IIS 3D Printer Auto Leveling with High Temperature Nozzle https://amzn.to/3xpxJMF
FLASHFORGE Adventurer 5M Pro 3D Printer with 1 Click Auto Printing System https://amzn.to/3TQxYYz
FLASHFORGE Adventurer 5M 3D Printer with Fully Auto Leveling
https://amzn.to/3TMprpS
FLASHFORGE 3D Printer Adventurer Series with Auto Leveling with Quick Removable Nozzle https://amzn.to/3PSmeDO
Disclaimer: As a participant in the Amazon Affiliate program, we earn a small commission if you make a purchase through one of these links, at no additional cost to you.